How to Reduce PDF File Size Without Losing Quality
A comprehensive guide to compressing PDFs in Adobe Acrobat — covering Save As Reduced Size, PDF Optimizer, image downsampling, font subsetting, and stream compression.
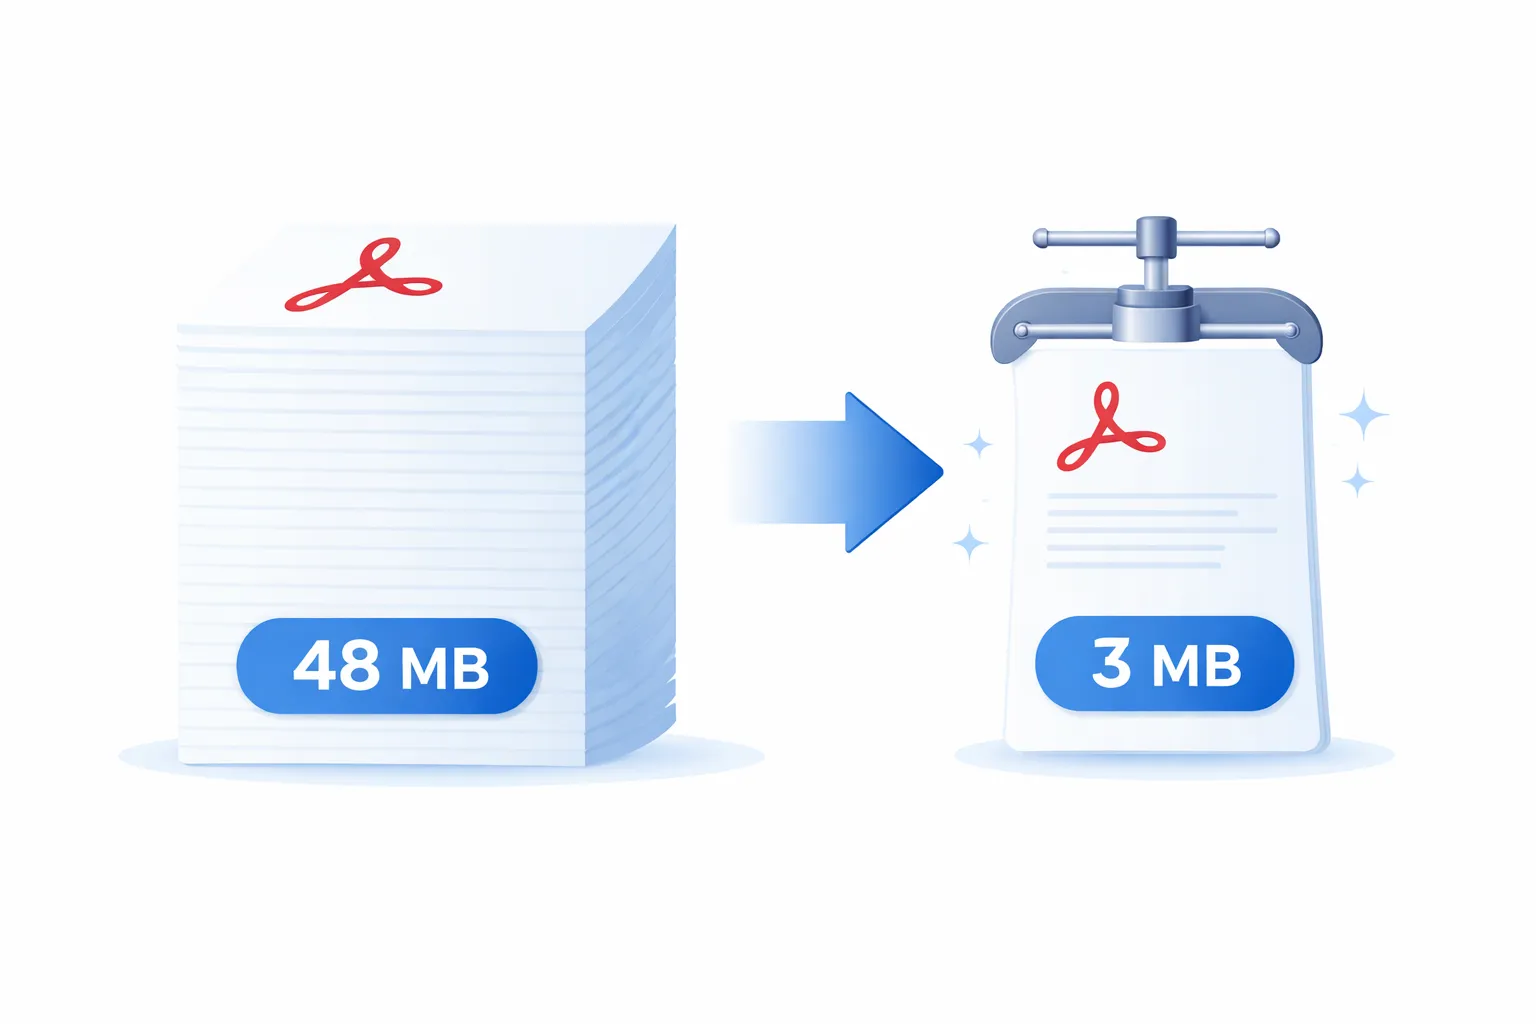
Why PDF File Size Matters
Quick answer: To reduce PDF file size in Adobe Acrobat, go to File > Save As Other > Reduced Size PDF for a quick one-click reduction, or use File > Save As Other > Optimized PDF (PDF Optimizer) for granular control over image compression, font subsetting, and object removal. You can also compress PDFs online for free using Mapsoft's PDF Hub.
Oversized PDF files create real problems. They clog email inboxes, slow down web page loads, consume excessive storage on shared drives, and frustrate users who have to wait for them to download or render. Regulatory bodies and procurement portals frequently impose strict file-size limits — 10 MB or 20 MB being common thresholds — meaning that a document which exceeds the cap simply cannot be submitted.
The good news is that most PDFs contain significant scope for size reduction without any visible loss of quality. The key is understanding what is actually consuming space inside the file and targeting those elements with the right compression strategy. This guide walks through every method available in Adobe Acrobat Pro, from quick one-click options to advanced optimisation techniques. For background on the compression techniques used internally by PDF, see our article on PDF compression.
Understanding What Makes PDFs Large
Before compressing a PDF, it helps to understand the anatomy of a PDF file and where the bytes are being spent. A PDF is essentially a container that holds several types of content:
- Images — By far the most common cause of large file sizes. Scanned documents, photographs, diagrams, and screenshots embedded at high resolution can each consume several megabytes. A single uncompressed 300 dpi A4 colour scan is approximately 25 MB.
- Fonts — PDFs embed font data to ensure the document renders identically on any system. A fully embedded OpenType font can be 500 KB or more. If the document uses many fonts, or embeds entire font programs rather than subsets, the overhead adds up.
- Vector graphics — Complex illustrations, engineering drawings, or CAD-derived graphics with thousands of path segments contribute to file size, though typically less than images.
- Form fields and JavaScript — Interactive forms, calculation scripts, and embedded actions add data that persists even in a flattened or printed version of the form.
- Metadata and structure — XMP metadata, document tags for accessibility, embedded thumbnails, cross-reference tables, and incremental save data all occupy space.
- Embedded files — Attachments, multimedia, and embedded fonts from other applications contribute to bloat.
Acrobat's PDF Optimizer includes an Audit Space Usage feature that breaks down exactly how many bytes each category occupies. Always start there before deciding which compression settings to apply.
Method 1: Save As Reduced Size PDF
This is the quickest and simplest approach. It applies a broad set of compression techniques in a single step.
- Open the PDF in Adobe Acrobat Pro.
- Go to File > Save As Other > Reduced Size PDF.
- In the dialog that appears, choose the Acrobat version compatibility you need. Selecting a newer version (e.g. Acrobat 10.0 and later) allows Acrobat to use more aggressive compression algorithms. If your recipients use older Acrobat or Reader versions, choose accordingly.
- Click OK. Acrobat processes the file and prompts you to save the result.
What this command does behind the scenes:
- Downsamples images that exceed a threshold resolution.
- Recompresses images using more efficient codecs where possible.
- Subsets embedded fonts (embedding only the glyphs actually used in the document rather than the full font program).
- Removes some structural overhead from incremental saves.
The limitation of this method is that you have no control over the individual settings. For documents where quality is critical — print-ready files, archival documents, or technical drawings — use PDF Optimizer instead.
Resize and Scale PDFs with Mapsoft
Need to resize pages or scale content to fit different paper sizes? MediaSizer changes page dimensions and ContentScaler scales content to fit — both work in batch across multiple files.
MediaSizer → ContentScaler →Method 2: PDF Optimizer (Advanced Compression)
PDF Optimizer provides full control over every aspect of file compression and is the preferred tool for professional workflows.
- Open the PDF in Adobe Acrobat Pro.
- Go to File > Save As Other > Optimized PDF. This opens the PDF Optimizer dialog.
- Click Audit Space Usage in the top-right corner to see a breakdown of what is consuming space in the current file.
The dialog has six panels, each controlling a different aspect of optimisation:
Images Panel
This is where the largest gains are typically achieved. The panel lets you configure separate settings for colour, greyscale, and monochrome images.
- Downsampling — Reduces the pixel dimensions of images that exceed a specified resolution. For screen-only documents, 150 ppi is usually sufficient. For print, 300 ppi is standard. Choose between Average Downsampling, Bicubic Downsampling (higher quality, slower), or Subsampling (fastest, lower quality).
- Compression — Select the codec: JPEG, JPEG2000, ZIP (lossless), or CCITT (monochrome only). JPEG at Medium quality offers a good balance of size and visual fidelity. JPEG2000 provides better quality at the same file size but requires Acrobat 6.0 or later compatibility.
- Quality — For JPEG and JPEG2000, choose from Minimum, Low, Medium, High, or Maximum. Medium is appropriate for most business documents. Use High or Maximum for photography or marketing materials.
A practical guideline: if you are preparing a PDF for email distribution or web download and the document contains photographic images, setting colour images to Bicubic Downsampling at 150 ppi with JPEG Medium compression typically reduces a 50 MB file to under 5 MB with no visible degradation on screen.
Fonts Panel
The Fonts panel controls font embedding and subsetting.
- Unembed — You can unembed fonts that are available as standard system fonts (such as Arial or Times New Roman) on the assumption that the recipient's system will have them. This is risky for cross-platform distribution but can save significant space in controlled environments.
- Subset — Fonts that are not already subsetted can be converted to subsets. A subset embeds only the glyphs used in the document. If a 500 KB font uses only 50 characters, subsetting it might reduce the embedded data to 30–40 KB.
Transparency Panel
If the PDF contains transparent objects (common in files created from InDesign, Illustrator, or PowerPoint), you can flatten transparency here. Flattening converts transparent regions into opaque equivalents, which can reduce rendering complexity and file size, but may affect the visual appearance of overlapping semi-transparent elements.
Discard Objects Panel
This panel lets you remove specific types of embedded content:
- Flatten form fields (removes interactivity but preserves visible content).
- Discard all JavaScript actions.
- Discard all alternate images (some PDFs embed multiple resolution versions of the same image).
- Remove embedded page thumbnails (Acrobat generates these dynamically anyway).
- Discard document tags (removes accessibility structure — do not use this if accessibility compliance is required).
- Convert smooth lines to curves, reducing the number of control points in vector paths.
- Discard embedded search index data.
Discard User Data Panel
This panel removes user-added content:
- Comments and annotations.
- Document information and metadata (be cautious — this removes title, author, and subject fields).
- File attachments.
- Private data from other applications.
- Hidden layer content.
- Cross-reference table data from deleted or unreferenced objects.
Clean Up Panel
The Clean Up panel handles structural optimisation:
- Use Flate to encode streams that are not encoded — Flate (zlib/deflate) compression is lossless and very effective. Any uncompressed content streams in the PDF will be compressed without any quality loss. Always enable this option.
- In streams that use LZW encoding, use Flate instead — Flate is more efficient than LZW in almost all cases. Enabling this re-encodes LZW streams.
- Remove invalid bookmarks and links — Cleans up references to deleted pages or missing destinations.
- Optimise the PDF for Fast Web View — Linearises the file so that a web browser can display the first page before the entire file has downloaded. This does not reduce file size but improves perceived performance.
Method 3: Re-Distilling from PostScript
For PDFs that originated from PostScript workflows (common in prepress and publishing), printing the PDF to a PostScript file and then re-distilling it through Adobe Acrobat Distiller with optimised settings can yield excellent compression results. This approach effectively rebuilds the PDF from scratch, allowing you to apply your preferred Distiller job options for image resolution, font handling, and colour management.
- Open the PDF and go to File > Print. Select the Adobe PDF printer.
- Click Properties and choose a Distiller job option preset (e.g. Smallest File Size, or a custom preset you have configured).
- Print to file. Distiller will process the PostScript output and create a new, optimised PDF.
This method is particularly effective for legacy PDFs that were created with older software and contain inefficient encoding or duplicated resources.
Method 4: Compress PDFs Online
If you do not have Adobe Acrobat installed, or you need a quick solution without launching a desktop application, you can compress PDFs online for free using Mapsoft's PDF Hub. Upload your file, choose your compression level, and download the optimised result. Files are processed securely and deleted after processing.
Image Downsampling: The Single Biggest Win
In the vast majority of cases, image data accounts for 60–95% of a PDF's file size. Understanding image resolution in context is the key to effective compression without visible quality loss.
Resolution is measured in pixels per inch (ppi). The critical question is: what resolution does the output actually require?
- Screen / web viewing — 72–150 ppi is sufficient. Most monitors display at 96–144 ppi. Anything above this is wasted data.
- Office printing — 150–200 ppi produces good results on standard laser and inkjet printers.
- Professional print / prepress — 300 ppi is the industry standard for offset lithographic printing.
A document containing 300 ppi images that will only ever be viewed on screen can be downsampled to 150 ppi — reducing image data by approximately 75% — with no perceptible difference to the viewer.
Font Subsetting in Detail
Font subsetting replaces a fully embedded font program with a subset containing only the glyphs used in the document. The PDF specification requires that subsetted fonts use a specific naming convention: a six-letter tag followed by a plus sign and the font name (e.g. ABCDEF+Helvetica).
Subsetting is safe for final-form documents that will not be edited. However, if someone needs to edit the PDF and type characters that were not in the original subset, those characters will not render correctly. For editable documents, consider embedding the full font or at least a broader character set.
Acrobat's PDF Optimizer subsets fonts automatically when you select the option. You can also control the subsetting threshold — for example, subset only if less than a specified percentage of glyphs are used.
Removing Unused Objects and Incremental Save Overhead
Every time you edit and save a PDF using a standard save (rather than Save As), Acrobat appends the changes to the end of the file without rewriting the existing content. This is called an incremental save. Over many edit cycles, the file accumulates orphaned objects — deleted pages, replaced images, and obsolete cross-reference entries — that still occupy space in the file.
Using Save As (rather than Save) forces Acrobat to rewrite the entire file, discarding orphaned objects. PDF Optimizer performs this cleanup automatically as part of its optimisation process.
For files that have been through many revision cycles, simply performing a Save As can reduce file size by 10–30% before any compression is applied.
Flate Compression for Content Streams
Flate (also known as deflate or zlib compression) is the standard lossless compression algorithm used in PDF content streams. It compresses text, vector graphics, and other non-image content without any loss of data.
Not all PDFs have their content streams compressed. Files created by certain applications, or files that have been through particular processing pipelines, may contain uncompressed streams. Enabling Flate encoding in PDF Optimizer's Clean Up panel compresses these streams, often yielding a 20–40% reduction in the non-image portion of the file.
Flate compression is always safe to apply — it is lossless, universally supported, and there is no reason not to enable it.
Batch Compression with Action Wizard
If you need to compress many PDFs — for example, preparing an archive of legacy documents for a document management system — Acrobat's Action Wizard can automate the process. See our guide on batch processing in Acrobat for more on using Action Wizard effectively.
- Go to Tools > Action Wizard > Create New Action.
- Add the Reduce File Size or Optimize PDF step to the action sequence.
- Configure the compression settings as described above.
- Set the output folder and naming convention.
- Run the action against a folder of source files.
Action Wizard processes each file sequentially and produces optimised copies in the designated output folder, leaving the originals untouched.
Best Practices and Recommendations
- Always keep the original — Compression is a lossy operation (in the case of image downsampling and JPEG re-encoding). Save the compressed version as a separate file so you can return to the original if needed.
- Audit before compressing — Use PDF Optimizer's Audit Space Usage to understand where the size is coming from. There is no point downsampling images in a file where fonts are the problem.
- Match compression to purpose — A file destined for offset print needs 300 ppi images and full font embedding. A file for email distribution can use 150 ppi and JPEG Medium compression.
- Test the result — After compression, review the document at 100% zoom and verify that text is sharp, images are acceptable, and interactive elements still function.
- Consider accessibility — Do not discard document tags or structure data if the PDF needs to meet WCAG or PDF/UA accessibility standards.
- Subset fonts by default — Unless the document will be edited after distribution, subsetting reduces font data by 80–95% with no downside for the reader.
- Enable Flate compression — There is no reason not to compress content streams with Flate. It is lossless and universally supported.
Common Pitfalls
- Over-compressing images — JPEG Minimum quality produces visible artefacts, especially around text rendered as images (common in scanned documents). Use Medium or higher.
- Unembedding fonts — Removing font embedding saves space but risks the document displaying incorrectly if the recipient does not have the same fonts installed. Only unembed standard system fonts in controlled distribution environments.
- Discarding metadata — Removing all metadata may break search indexing, accessibility compliance, or document management system integration. Remove selectively.
- Ignoring incremental save bloat — A simple Save As can reclaim significant space. Always try this before applying aggressive compression settings.
- Flattening transparency unnecessarily — Transparency flattening can alter the visual appearance of documents with overlapping translucent elements. Only flatten if you have verified the output looks correct.
Related Articles
PDF Compression: Techniques and Best Practices
An in-depth look at PDF compression algorithms, including Flate, JPEG, JPEG2000, CCITT, and JBIG2, and how to choose the right approach for your documents.
PDF Optimisation for Web
How to prepare PDFs for web delivery — linearisation, compression, and fast web view settings to minimise download times and improve user experience.
Understanding PDF File Size
A detailed exploration of what determines PDF file size — images, fonts, structure, metadata — and how to analyse and control each component.
Compress PDFs Online — Free
Use Mapsoft's PDF Hub to reduce PDF file size instantly in your browser. No installation, no sign-up. Or get in touch to discuss enterprise document optimisation.