

Managing thousands of documents across global teams has become a top challenge for large enterprises. More than 80 percent of American organizations now automate PDF compression to accelerate file sharing and reduce storage costs. For IT managers handling complex Adobe Acrobat workflows, small inefficiencies can quickly snowball into massive productivity losses. Learn how the right preparation and process can simplify every step of online PDF compression—keeping your documents agile while meeting strict business requirements.
Table of Contents
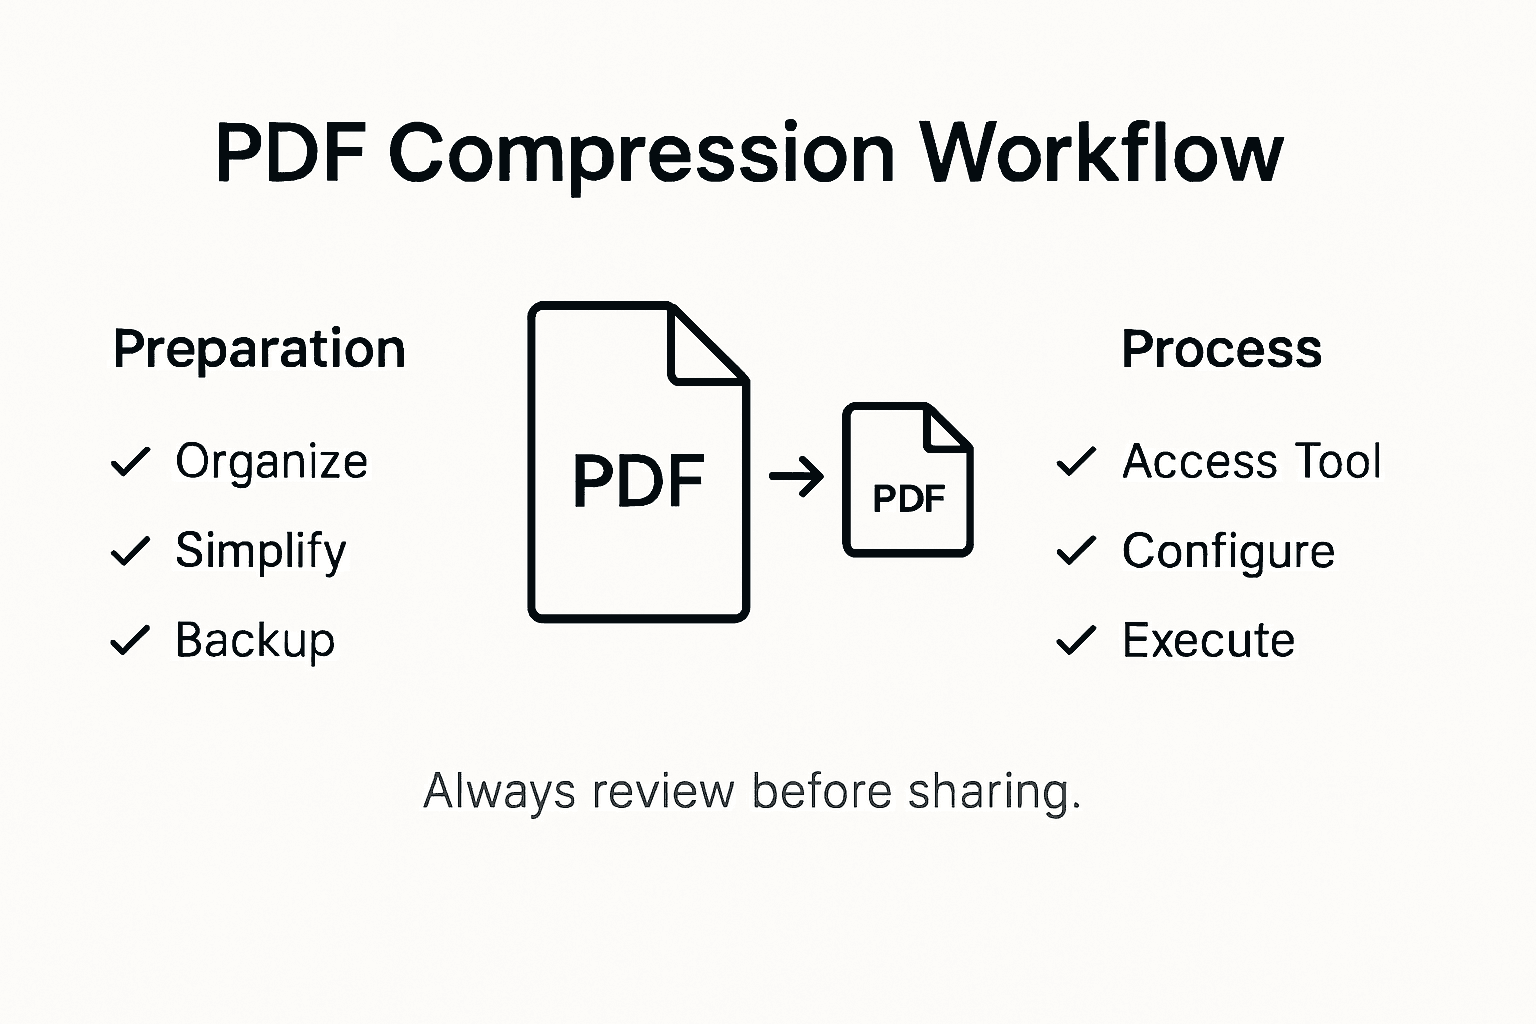
- Step 1: Prepare PDF Files for Online Compression
- Step 2: Access Adobe Online Compress PDF Tool
- Step 3: Configure Compression Preferences
- Step 4: Execute the Compression Process
- Step 5: Verify and Download the Compressed PDF
Quick Summary
| Key Insight | Explanation |
|---|---|
| 1. Optimize Documents Before Compression | Remove unnecessary elements and simplify graphics to reduce file size without losing quality. |
| 2. Use Adobe’s Tools for Compression | Log in to Adobe’s online platform to access reliable PDF compression features and settings. |
| 3. Adjust Compression Settings Wisely | Configure image and font settings to maintain document quality while achieving the desired file size reduction. |
| 4. Verify Compressed PDF Integrity | Check the compressed PDF for clarity and formatting to ensure critical content remains intact. |
| 5. Maintain an Original Uncompressed Copy | Always keep a backup of the original PDF for reference in case of quality loss during compression. |
Step 1: Prepare PDF Files for Online Compression
Preparing your PDF files for online compression requires strategic document optimization to ensure efficient processing and minimal quality loss. By carefully structuring your documents, you can streamline the compression workflow and achieve smaller file sizes without sacrificing readability.
Start by reviewing your PDF document and removing unnecessary elements that can bloat file size. This includes eliminating redundant pages, cleaning up embedded metadata, and removing hidden layers or annotations that are not essential. Accessible PDF creation guidelines recommend systematically examining document structure to identify potential compression opportunities. Strip out extraneous graphics, unused fonts, and embedded objects that are not critical to the document’s core content.
Focus on document simplification techniques like converting complex vector graphics to more compact raster images, reducing color depth, and standardizing font usage across the document. These strategies help minimize file complexity and prepare your PDF for more efficient online compression algorithms.
Pro tip: Always maintain a clean original version of your PDF before compression to ensure you can revert changes if needed.
Step 2: Access Adobe Online Compress PDF Tool
Navigating Adobe’s online compression tool requires understanding the specific steps to access and utilize this powerful document optimization resource. Your goal in this step is to securely log into Adobe’s cloud platform and locate the PDF compression functionality with minimal friction.
Begin by opening your preferred web browser and navigating to Adobe’s official online platform. Government documentation recommends accessing Adobe tools through official channels to ensure secure and compliant document handling. Sign in using your Adobe account credentials, which may involve entering your email address and password. If you do not have an existing account, you will need to create one through Adobe’s registration process. Look for the PDF tools section, typically located in the main dashboard or under a “Tools” dropdown menu.
Once logged in, locate the specific PDF compression tool within the online suite of document management features. Most Adobe online platforms organize compression tools under document optimization or file management sections. Pay attention to any file size limitations, supported file types, and compression quality settings that might impact your specific document requirements.

Pro tip: Bookmark the direct link to Adobe’s online PDF tools to streamline your future document compression workflows.
Step 3: Configure Compression Preferences
Configuring compression preferences is a critical step in optimizing your PDF file size while maintaining document quality and readability. Your objective is to strategically adjust settings that balance file reduction with visual integrity.
Comprehensive PDF compression guides recommend exploring multiple optimization techniques to achieve your desired outcome. Start by accessing the PDF Optimizer tool within Adobe’s platform. Focus on key configuration areas including image downsampling, compression method selection, and font optimization. For images, choose between different compression levels that impact visual quality. Lower resolution settings will dramatically reduce file size but might compromise image clarity. Consider your specific use case whether it is web publishing, archiving, or professional documentation.
Pay close attention to advanced settings like object removal, font embedding, and transparency settings. Each adjustment represents a trade-off between file size and document fidelity. Some compression methods allow you to preview changes before finalizing, enabling you to find the perfect balance between minimal file size and acceptable visual quality. Experiment with preset configurations that Adobe provides, which are tailored for different use scenarios such as print, screen display, or minimum file size requirements.
Here’s a summary of common PDF compression configuration options and their impact:
| Setting | Effect on File Size | Potential Downsides |
|---|---|---|
| Image Downsampling | Reduces size quickly | May blur detailed images |
| Font Optimization | Smaller file size | Fonts might display incorrectly |
| Object Removal | Removes unused items | Content could be lost |
| Lower Transparency | Simplifies graphics | Complex visuals lose quality |
Pro tip: Always keep an uncompressed original version of your PDF as a backup before applying aggressive compression settings.
Step 4: Execute the Compression Process
Executing the PDF compression process requires careful attention to detail and a systematic approach to ensure optimal file size reduction without compromising document quality. Your goal is to transform your configured settings into a successfully compressed PDF file.
Click the “Compress” or “Optimize” button within Adobe’s PDF tool to initiate the compression process. The software will analyze your document based on the preferences you previously configured. Watch the progress bar carefully, as it provides real-time feedback about the compression stages. Most Adobe platforms will offer a preview of the compressed file, allowing you to assess the visual quality and file size reduction before finalizing the process.
After compression completes, Adobe typically generates a new compressed PDF file while preserving your original document. Verify the new file by checking its file size and opening it to confirm that all critical elements remain intact. Compare the original and compressed versions side by side to ensure no critical information or formatting has been lost during the optimization process. Pay special attention to image quality, text clarity, and overall document readability.
Pro tip: Run a test compression on a sample document first to validate your compression settings before processing large or critical files.
Step 5: Verify and Download the Compressed PDF
Verifying and downloading your compressed PDF is the final critical step in ensuring your document meets both size and quality requirements. Your objective is to confirm the compression results and securely save the optimized file for future use.
Optimizing PDF file size for business workflows requires careful validation of the compressed document. Immediately after compression, carefully review the new PDF file. Check the file size reduction by comparing the original and compressed versions. Open the compressed PDF to verify that all text remains clear, images retain acceptable resolution, and no critical formatting has been lost during the compression process. Pay special attention to complex graphics, charts, and documents with multiple page layouts.
Once you have confirmed the document’s integrity, select the download option within Adobe’s platform. Choose an appropriate destination folder on your computer or cloud storage system. Rename the file if desired to indicate it is the compressed version. Verify the download is complete by checking the file size and attempting to open the downloaded PDF in your preferred document viewer. Create a backup of both the original and compressed versions to ensure you have a fallback option if needed.
Use this table to compare key verification points during PDF download:
| Element to Check | Why It Matters | Recommended Action |
|---|---|---|
| File Size Change | Confirms compression | Compare before/after sizes |
| Image Quality | Ensures readability | Zoom in on graphics |
| Text Clarity | Maintains professionalism | Test in multiple viewers |
| Formatting | Preserves structure | Review page layouts |
Pro tip: Always keep the original uncompressed PDF in a separate backup folder to preserve the highest quality version of your document.
Streamline Your PDF Workflows with Advanced Compression and Optimization Solutions
Dealing with large PDF files and complex compression settings can be overwhelming, especially when balancing file size reduction with maintaining document quality and readability. This article highlights the challenges of preparing, configuring, and validating PDF compression to optimize your documents for various use cases. If you want to simplify these tasks while gaining precise control over your PDF files, our expertise in Adobe technologies can help transform your workflow.

Discover how Mapsoft.com offers tailored software solutions and plug-ins designed to enhance PDF handling, including compression, editing, and security. Our Digital Preservation – category focuses on long-term document integrity and optimization. Visit Mapsoft.com to explore tools that automate complex PDF workflows, improve compression quality, and ensure seamless document management. Act now to save time and protect your document assets with trusted professional support.
Frequently Asked Questions
How do I prepare my PDF files for online compression?
To prepare your PDF files for online compression, review the document and remove unnecessary elements that increase file size. Eliminate redundant pages, clean up embedded metadata, and strip out extraneous graphics to ensure efficient processing.
What steps should I follow to access Adobe’s online PDF compression tool?
To access Adobe’s online PDF compression tool, open your web browser and navigate to Adobe’s official platform. Sign in using your Adobe account, or create one if you don’t have it yet, and look for the PDF tools section to locate the compression feature.
How can I configure compression preferences in Adobe’s tool?
You can configure compression preferences by accessing the PDF Optimizer tool within Adobe’s platform. Focus on adjusting settings for image downsampling and font optimization to balance file size and document quality effectively.
What should I do after executing the compression process?
After executing the compression process, verify the newly compressed PDF by checking its file size and opening it to confirm that all elements remain intact. If necessary, compare the compressed file to the original one to ensure no critical information was lost during compression.
How can I verify and download my compressed PDF?
To verify and download your compressed PDF, review the new file to ensure text clarity and image quality. Once satisfied, select the download option, choose a suitable destination folder, and confirm the download is complete by checking the file size again.

