Understanding PDF File Size
Why PDF files can be surprisingly large, what drives file size, and how to reduce it effectively.
You can also compress PDF files online for free using Mapsoft's PDF Hub — no installation required.
Why Are My PDFs So Large?
One of the most common questions in PDF workflows is why a document's file size seems disproportionate to its page count. A 5-page PDF might be 10 MB while a 100-page PDF is only 2 MB. The answer lies in understanding what a PDF file actually contains — page count is only one of many factors that determine file size.
What Makes Up a PDF File?
A PDF document is a container that holds several types of data, each contributing to the total file size:
- Content streams: The actual page content — text, vector graphics, and drawing commands. This is the only component whose size is roughly proportional to page count.
- Embedded fonts: PDF files embed font data so that text renders consistently on any device. A single font can add 400–600 KB to the file. Documents using many fonts or full font embeddings (rather than subsets) can be significantly larger.
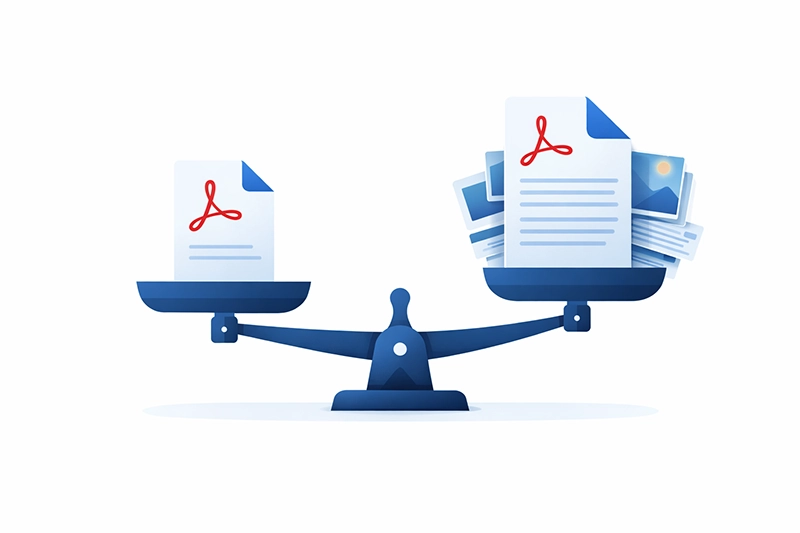
- Images: Photographs, scanned pages, logos, and other raster graphics. Images are typically the largest contributor to PDF file size. A single high-resolution photograph can be several megabytes.
- Bookmarks and annotations: Navigation bookmarks, comments, highlights, stamps, and other markup. These are usually small but can accumulate in heavily annotated documents.
- Form data: Interactive form fields, their definitions, appearance streams, and any associated JavaScript.
- File attachments: PDFs can embed other files (spreadsheets, images, other PDFs) as attachments.
- Document overhead: Cross-reference tables, metadata, security settings, and internal PDF structure. Incremental saves can inflate this significantly.
Auditing File Size in Acrobat
Adobe Acrobat provides a built-in tool to see exactly where file size is being consumed. To use it:
- Open the PDF in Acrobat Pro.
- Go to File > Save As Other > Optimized PDF.
- Click Audit Space Usage in the dialog that appears.
This produces a breakdown showing the percentage and absolute size of each component (fonts, images, content streams, etc.). Understanding this breakdown is essential before attempting to reduce file size — you need to know where the space is going before you can reclaim it.
Common Audit Findings
- Images dominate (70%+): Common in scanned documents, brochures, and photo-heavy reports. Image downsampling and compression are the primary reduction strategies.
- Fonts dominate (40%+): Common in documents that use many typefaces or embed full fonts rather than subsets. Unembedding unnecessary fonts or subsetting can help.
- Content streams dominate (80%+): Indicates a text-heavy document with minimal images or fonts. These PDFs are already efficient — file size is proportional to content.
- Document overhead is large: Often caused by repeated incremental saves. A "Save As" (which rewrites the file from scratch) can reclaim this space.
Why Splitting Doesn't Always Reduce File Size
When splitting a PDF into smaller documents, users often expect each output file to be proportionally smaller. This is only true for text-heavy documents where content streams are the dominant component.
For documents with embedded fonts or images, each split output file must include its own copy of the fonts and any images that appear on its pages. A document with 600 KB of fonts and 50 KB of text per page will produce split files that are each roughly 600 KB + the text content, regardless of how many pages they contain.
How to Reduce PDF File Size
For a step-by-step walkthrough, see our dedicated guide on how to reduce PDF file size. The key approaches are covered below.
1. Save As (Rewrite the File)
The simplest optimisation: use File > Save As instead of File > Save. Regular saves append changes incrementally, leaving orphaned data in the file. "Save As" rebuilds the file from scratch, often producing a smaller result with no quality loss.
2. Optimise Images
Use File > Save As Other > Optimized PDF and configure image settings:
- Downsample: Reduce image resolution to match intended use. 150 DPI is sufficient for screen viewing; 300 DPI for print. Images at 600+ DPI are rarely necessary.
- Compression: Apply JPEG compression to colour and greyscale images. Higher compression means smaller files but more visible artefacts.
- Monochrome: Use CCITT or JBIG2 compression for black-and-white images (scanned text). JBIG2 produces the smallest files.
3. Subset or Remove Fonts
Font subsetting embeds only the characters actually used in the document rather than the entire font. Most PDF creation tools do this by default, but documents that have been edited in Acrobat may contain full font embeddings.
4. Remove Unnecessary Content
The Optimized PDF dialog also allows you to discard:
- Embedded thumbnails (modern PDF viewers generate these automatically)
- Comments and form data (if no longer needed)
- Unreferenced named destinations
- File attachments
- Hidden layers and alternate images
5. Use Reduced Size PDF
For a quick one-click reduction, use File > Save As Other > Reduced Size PDF. This applies a set of default optimisations. It is less configurable than the Optimized PDF option but convenient for quick results.
6. Print to PDF (Last Resort)
Printing the document to the Adobe PDF printer creates a fresh PDF from the rendered output. This can resolve issues with problematic fonts or bloated internal structures, but it destroys all interactive elements (bookmarks, links, form fields, annotations) and may reduce image quality. Use this only when other methods fail.
Prevention: Keeping Files Small from the Start
If you are optimising PDFs specifically for web delivery, see our guide on PDF optimisation for web, which covers linearisation (fast web view) and other web-specific strategies.
- Use standard PDF fonts (Helvetica, Times, Courier) where possible to avoid font embedding overhead.
- Optimise images before placing them in the source document — downsample to the target resolution in Photoshop rather than relying on PDF optimisation after the fact.
- Avoid scanning at resolutions higher than necessary. 300 DPI is sufficient for most document scanning; 600 DPI produces files four times larger.
- Use "Save As" periodically to prevent incremental save bloat.
- Choose appropriate colour modes — greyscale images are one-third the size of colour, and monochrome (1-bit) images are smaller still.
Related Articles
What is PDF? The Portable Document Format Explained
A clear explanation of what PDF is, why it was created, how it works, and why it remains the world's most widely used document format.
Evolution of the PDF Format: A Historical Perspective
Explore the birth and impact of the PDF format. Learn how Adobe Acrobat shaped its growth, discover features and advantages of PDF, including document integrity and security.
Summary of the Structure of PDF Files
Explore the structure of PDF files: discover how text, art, images, and more are combined in a single container format.
Need PDF Processing Solutions?
Mapsoft builds tools and custom solutions for PDF optimisation, batch processing, and document workflows.